Installing Solr
Once you have confirmed that Java is installed on your KommerceServer web server, perform the following steps to install the Apache Solr files.
Apache Solr version 5.4.1 is the only version of Solr that is supported in KommerceServer.
- Download Apache Solr from the following location: http://archive.apache.org/dist/lucene/solr/5.4.1/
- Extract the files to your desired location on your KommerceServer web server.
- Open a Command Prompt window. The Command Prompt window appears.
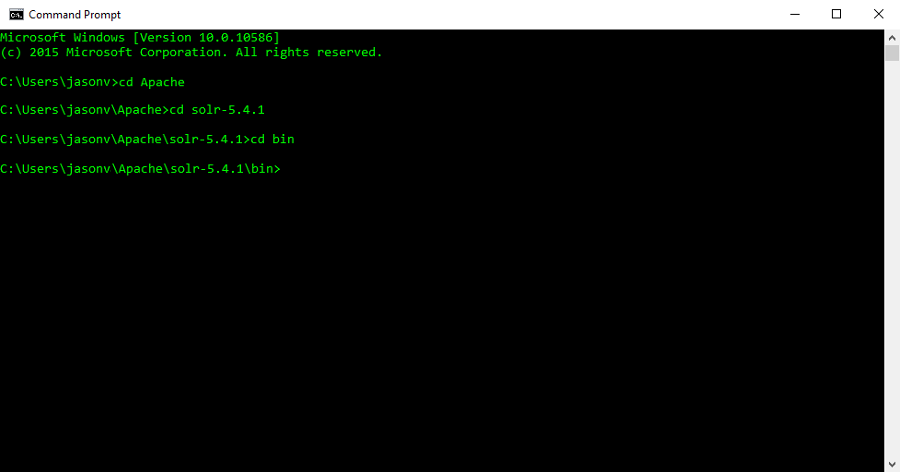
- Using the Command Prompt, navigate to the directory that you placed your Solr files in.
- Navigate to the bin directory. Your results will be similar to the following example.
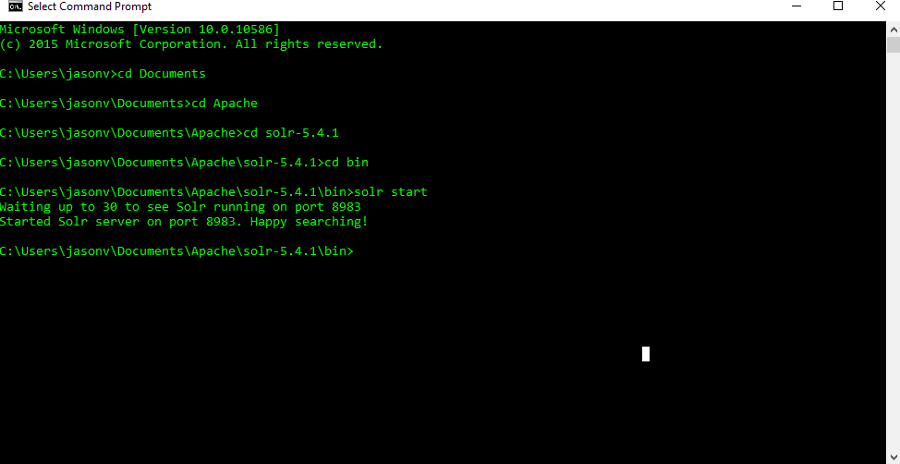
- Type solr start in the Command Prompt window and press the Enter key to start the installation of solr.
You will see an output similar to the following example.
If the window displays an error, refer to the Troubleshooting Solr topic.
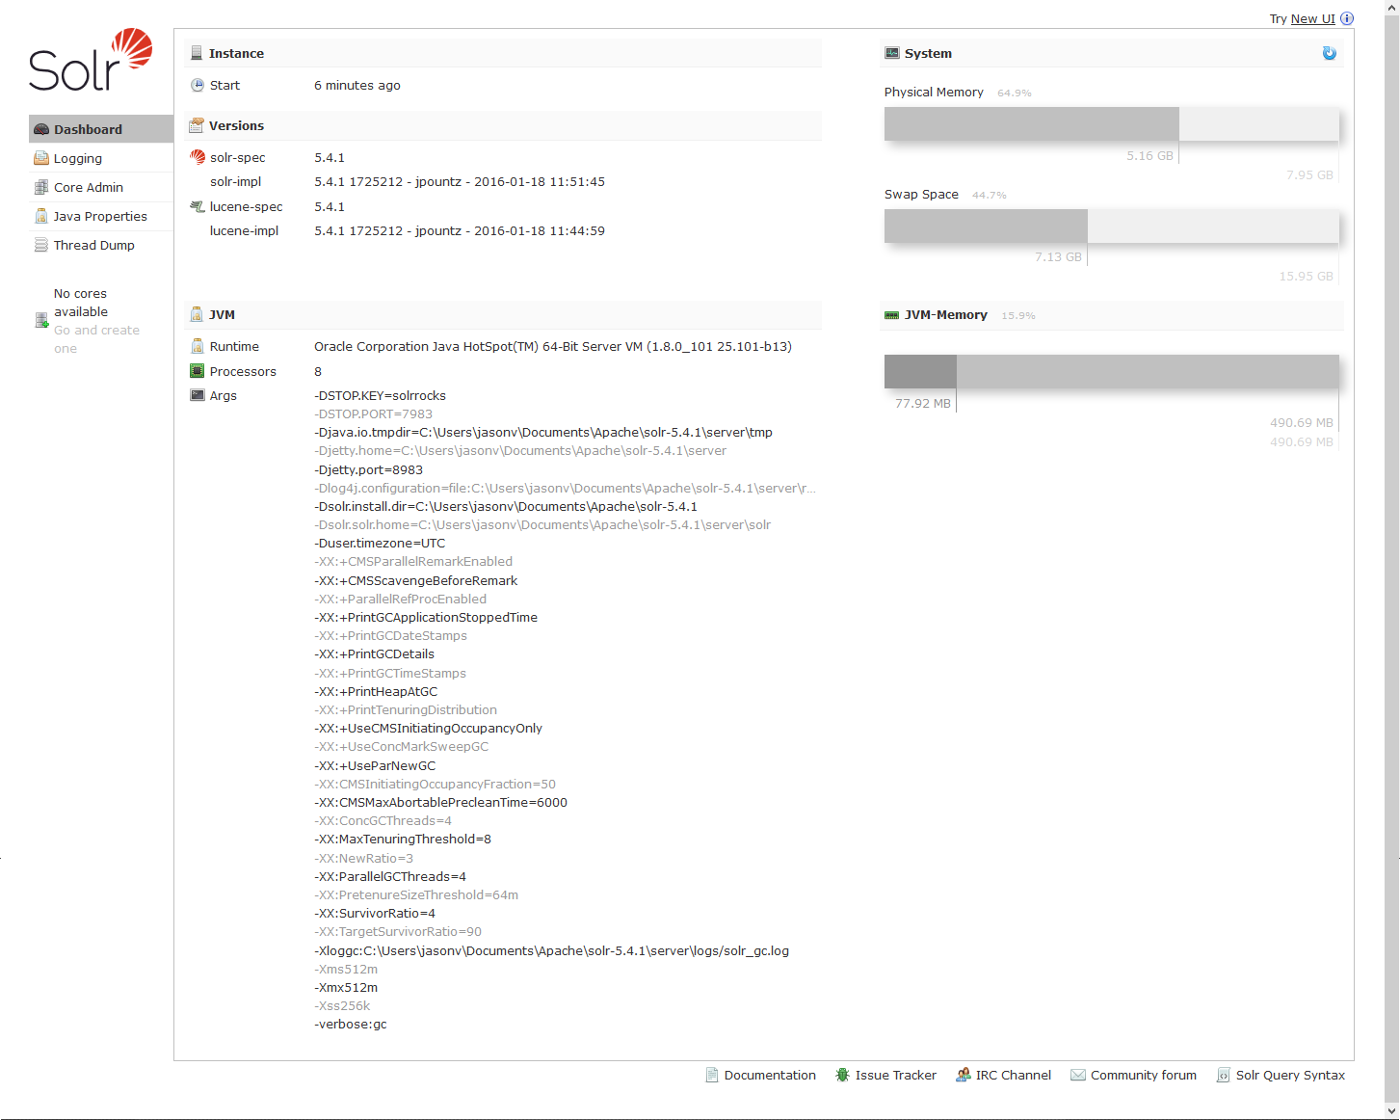
- Open a web browser and navigate to the following URL: localhost:8983. The Solr administration page appears.